NGINX is a lightweight fast and open source web-server to serve for massive applications or static websites. It provides high-performance with excellent speed and security. It is the perfect choice for streaming services with massive traffic.
Nginx RTMP is an open-source and powerful module for the Nginx web server. It enables RTMP protocol, HTTP Live Streaming (HLS), and Dynamic Adaptive Streaming over HTTP (DASH).
Most modern streaming tools support the RTMP protocol, which defines the basic parameters of an internet video stream. The Nginx web server includes a module that allows you to provide an RTMP stream with minimal configuration from a dedicated URL, just like it provides HTTP access to web pages by default.
RTMP maintains a constant connection between the player client and server, allowing the protocol to act as a pipe and rapidly move video data through to the viewer. Because RTMP sits on top of the Transmission Control Protocol (TCP), it uses a three-way handshake when transporting data.
I) Create a SWAP Space:
1. Created a swap space with 8 GB and configured in the fstab using the commands below
$ dd if=/dev/zero of=/swapfile bs=1024 count=4194304


$ chmod 600 /swapfile


$ swapon /swapfile


$ /swapfile swap swap defaults 0 0
2. Upgrade the CentOS packges for benefit from getting the latest software, including new security patches, and all the upgraded technology that comes with latest version.
$ sudo yum update
3. Installed vim and wget packages in CentOS instance that’s required for edit and download the files from the public
$ sudo yum install vim wget git


$ sudo yum groupinstall "Development Tools"
II) Install and Configure NGINX with RTMP:
4. Download the NGINX sever and rtmp_module from the repository using the git command
$ sudo git clone https://github.com/arut/nginx-rtmp-module.git


$ sudo git clone https://github.com/nginx/nginx.git
5. Install and configure NGINX server with rtmp_module using the commands below,
$ sudo ./auto/configure --prefix=/usr/local/nginx --conf-path=/usr/local/nginx/nginx.conf --add-module=../nginx-rtmp-module --with-http_ssl_module
Once you have installed without any you will see the output like,
Configuration summary
+ using system PCRE2 library
+ using system OpenSSL library
+ using system zlib library
nginx path prefix: "/usr/local/nginx"
nginx modules path: "/usr/local/nginx/modules"
nginx configuration prefix: "/usr/local/nginx/conf"
nginx http client request body temporary files: "client_body_temp"
nginx http proxy temporary files: "proxy_temp"
nginx http fastcgi temporary files: "fastcgi_temp"
nginx http uwsgi temporary files: "uwsgi_temp"
nginx http scgi temporary files: "scgi_temp"
6. Then execute make and make install commands,
$ sudo make


$ sudo make install


$  /usr/local/nginx/sbin/nginx -V


nginx version: nginx/1.23.1

built by gcc 8.5.0 20210514 (Red Hat 8.5.0-4) (GCC)

built with OpenSSL 1.1.1k  FIPS 25 Mar 2021

TLS SNI support enabled

configure arguments: --prefix=/usr/local/nginx --conf-path=/usr/local/nginx/nginx.conf --add-module=../nginx-rtmp-module –with-http_ssl_module
7. Just take a copy the nginx.conf original file to the different name: nginx.conf_original, then copy and paste the following lines and save it.
$ vim /usr/local/nginx/nginx.conf


user nobody;

worker_processes  5;

pid /run/nginx.pid;


events {

worker_connections  1024;

}


rtmp_auto_push on;

## RTMP configuration

rtmp {

  server {

    listen 1935;

    chunk_size 4000;

    application linuxfaq {

      live on;

      interleave on;

      hls on;

      hls_path /tmp/linuxfaq/hls;

      hls_fragment 15s;

      dash on;

      dash_path /tmp/linuxfaq/dash;

      dash_fragment 15s;

      record all;

      record_path /tmp/linuxfaq/rec;

      record_suffix -%d-%b-%y-%T.mp4;

      record_unique on;

      record_append on;

      recorder audio {

       record audio;

       record_suffix .audio.flv;

     }

    }

  }

}


## HTTP configuration

http {

  default_type  application/octet-stream;

  server {

    listen 80;

    location / {

      root /tmp/linuxfaq;

        add_header 'Access-Control-Allow-Origin' '*';

        add_header 'Access-Control-Allow-Methods' 'GET, POST, OPTIONS';

    }

    types {

      application/vnd.apple.mepgurl m3u8;

      video/mp2t ts;

      text/html html;

      application/dash+xml mpd;

    }

  }

}
8. Once you have configured the NGINX.CONF file have to make sure that any errors in the configuration using the command below,
$ sudo /usr/local/nginx/sbin/nginx -t
9. Start the nginx server using the command below,
$ sudo /usr/local/nginx/sbin/nginx
10. Make sure that the NGINX is running successfully,
$ ps aux | grep nginx


$ netstat -anplt
III) Install FFMPEG in CentOS instance:
We can install the FFmpeg software on your CentOS 8 or RHEL 8 version from RPM fusion repository. Before you need to install the software have to enable EPEL or compatible distributions.
$ sudo dnf -y install https://download.fedoraproject.org/pub/epel/epel-release-latest-8.noarch.rpm


$ sudo yum-config-manager --enable powertools


$ sudo dnf install -y https://download1.rpmfusion.org/free/el/rpmfusion-free-release-8.noarch.rpm


$ sudo dnf install -y https://download1.rpmfusion.org/nonfree/el/rpmfusion-nonfree-release-8.noarch.rpm
Install the FFmpeg software in your machine using the commands below,
$ sudo dnf -y install ffmpeg
Once you have installed the FFmpeg software you can check the version using the command below,
$ ffmpeg -version


ffmpeg version 4.2.7 Copyright (c) 2000-2022 the FFmpeg developers

built with gcc 8 (GCC)

configuration: --prefix=/usr --bindir=/usr/bin --datadir=/usr/share/ffmpeg .....
IV) Install VLC Player and OBS Studio for Live Streaming Test
Let us start a sample test the Live Streaming setup with the above installed and configured the NGINX with RTMP protocol, before we do have to install VLC Player and OBS Studio software in your local machine. Here, I’m using Ubuntu machine so I’ve installed from the “Ubuntu Software” or you can download from VLC website and install it.
The Open Broadcaster Software (OBS) stuiod is a free and open source software for video recording and live streaming. We can download and install in our Local machine and start streaming quickly and easily on Windows, Mac or Linux.
$ sudo add-apt-repository ppa:obsproject/obs-studio


$ sudo apt update


$ sudo apt install ffmpeg obs-studio
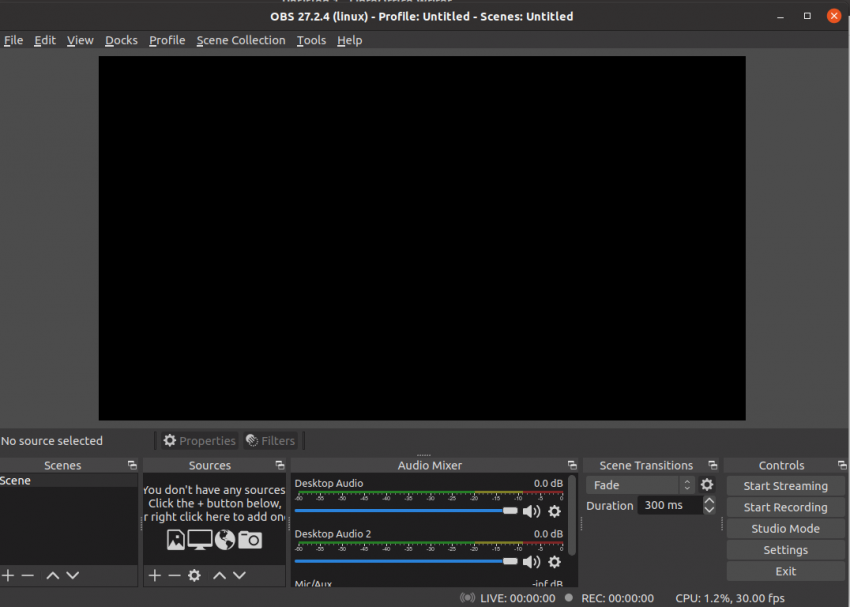
Click on the “+” plus ico on“Sources” box, Enter the name of Source,
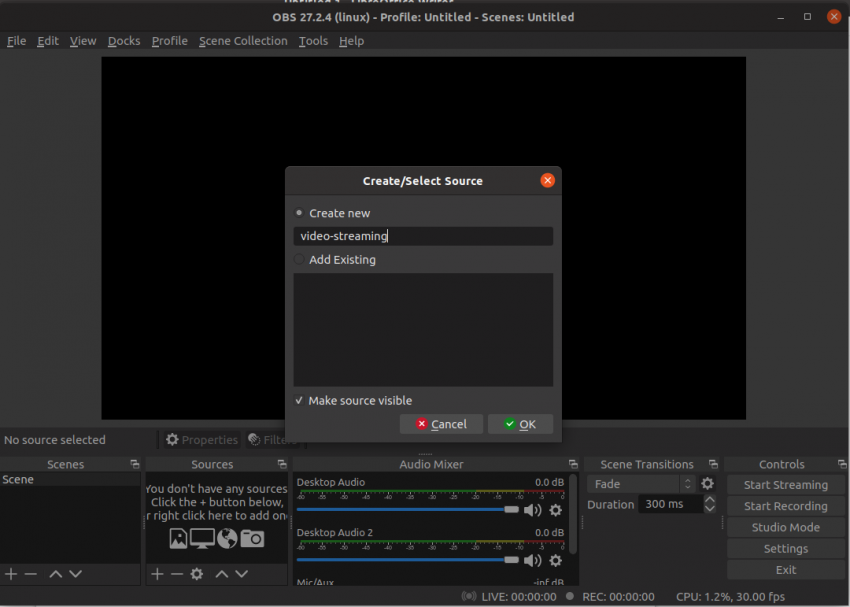
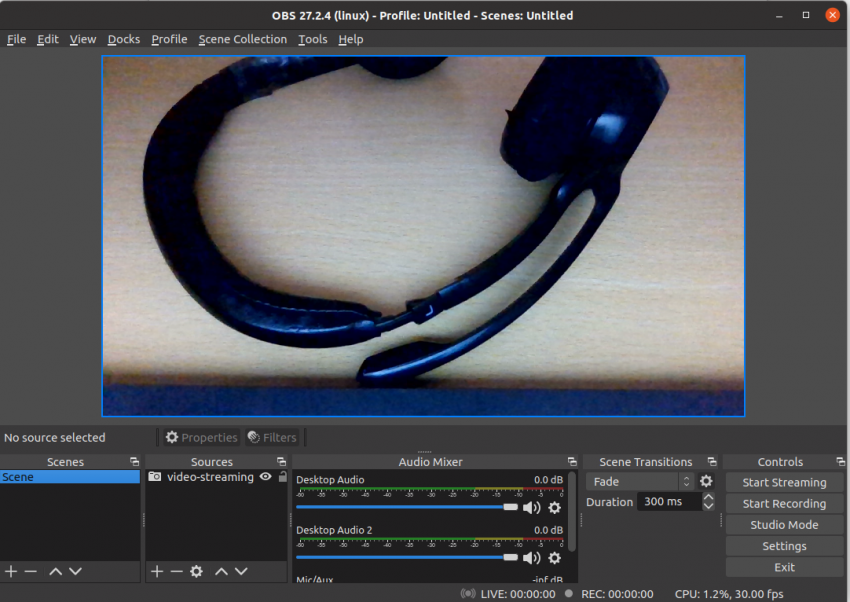
Choose the options in properties for the “video-streaming”,
Click on the “Settings” -> Select “Stream” -> in Service option choose “Custom” and enter the Server URL and Key,
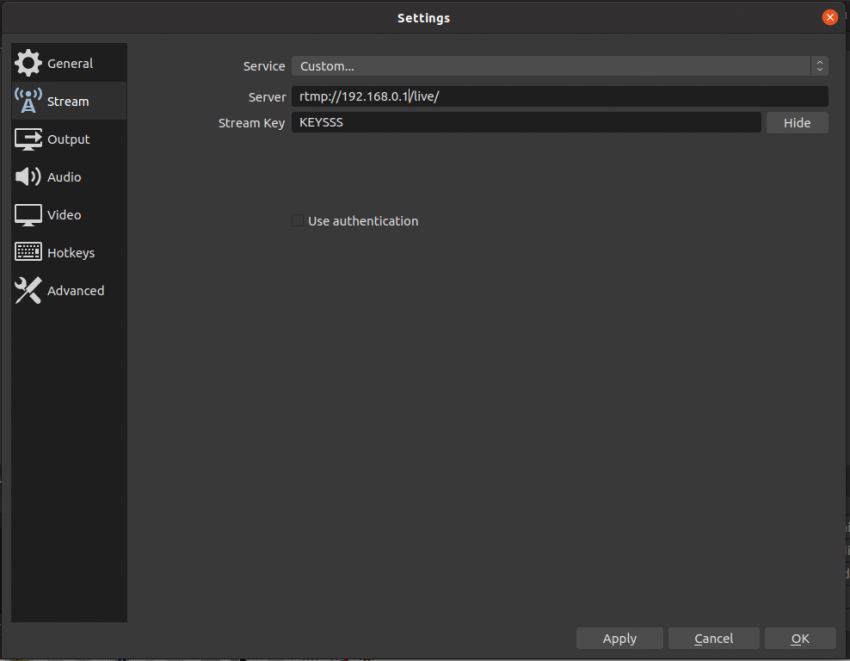
Click on Apply and Ok, then click on “Start Streaming”, now the Live streaming is started,
Open the VLC Player and Select “Media” -> “Open Network Stream...” and enter the Network Protocol http://192.168.0.1/hls/KEESSS.m3u8 (The IP address will changing)
alternatively, we can use the DASH or RTMP protocol, please see the links below,
HLS: http://192.168.0.1/hls/KEESSS.m3u8
DASH http://192.168.0.1/dash/KEESSS.mpd
RTMP: rtmp://192.168.0.1/live/KEESSS
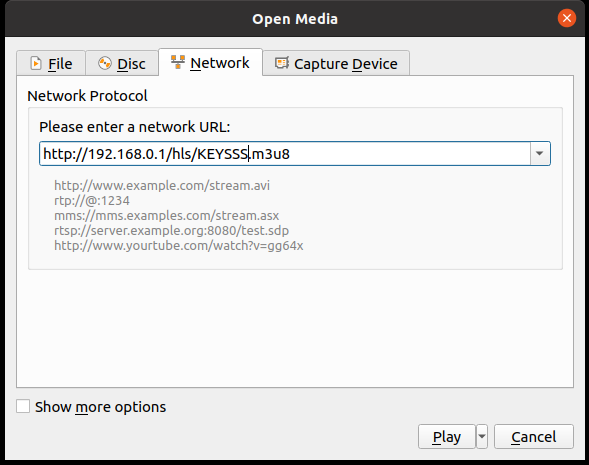
Seems to be the key name is very funny, so don't worry about that, just click on the button "Play" in 2 to 3 seconds, you will see the video streaming.....
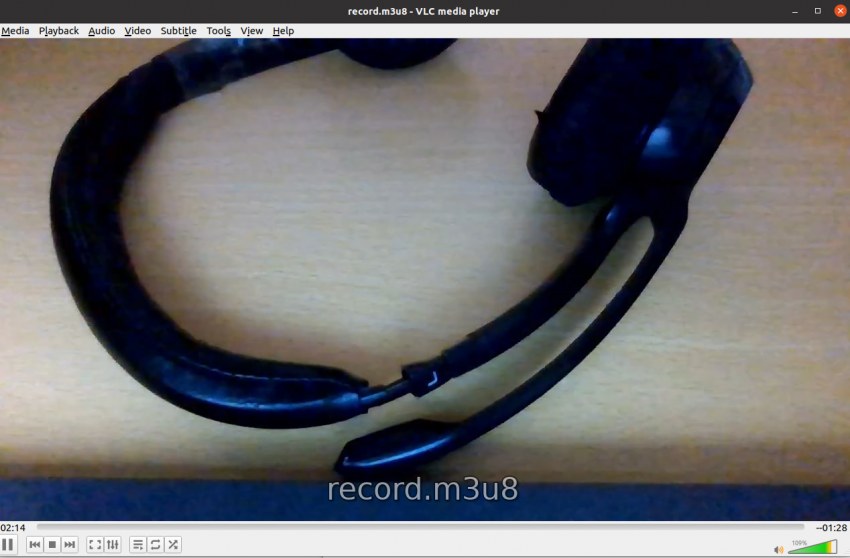
cheers!!!!


Comments (0)